
Cave Casualties Biomes, Depths and Layers
Identify the environment around you, find useful water and terrain, and prepare for the hazards farther down. Biomes describe local conditions; layers track your progress through the descent.
The first four layers are The Throat, Salt Veins, The Den and The Deep. Biomes repeat within the descent, and The Stone, The Overgrowth and The Dunes occur at any depth. Use each biome’s starting depth, water supply and hazards to plan your next move.
Biomes and Descent Layers
A layer marks descent progress: Layer 1 is The Throat, Layer 2 is Salt Veins, Layer 3 is The Den, and Layer 4 is The Deep. Read the layer announcement to track these transitions.
A biome describes the terrain, water, temperature and hazards immediately around you. The same biome returns during a descent. Finding The Stone, The Overgrowth or The Dunes does not identify a particular layer, because all three occur at any depth. A biome’s starting depth describes its encounter conditions, rather than the boundary of a named layer.
Biome and Layer Directory
Compare the nine named biomes, four descent layers and two special regions below. Expand a name for its terrain, water, hazards and encounter conditions.
Encounter frequencies apply at the stated eligible depths; they describe frequency across caves, not a countdown to the next encounter. Discovery XP is a first-discovery reward. Layer arrival rewards are expedition examples.
Find biomes, named layers and special regions by depth and environmental conditions.
15 objects
|
|
Common | — | — | 150 XP First discovery |
|---|---|---|---|---|
|
A cold, quiet biome of bare rock with clean pools and hard terrain.
TipsUse a Pickaxe for the hard rock and keep clear of ground spikes. Clean pools support drinking, refilling and washing. |
||||
|
|
Common | — | 19 °C | 150 XP First discovery |
|
A warm, damp biome with vegetation and warm lakes. Poisonous thorns and Maneaters occupy its overgrown terrain.
TipsUse warm lakes for warmth and wound care, and watch the grass for Maneaters and poisonous thorns. |
||||
|
|
Uncommon | 1,100 m | 22 °C | 300 XP First discovery |
|
A warm biome containing hot springs, boiling pools, and ground steam vents.
TipsLeave the pool when the boiling warning appears, and keep clear of steam vents that throw you upward. |
||||
|
|
Uncommon | — | 28 °C | 300 XP First discovery |
|
A dry biome of sand and sandstone with hot, gritty wind.
TipsCarry drinking water for the hot, dry conditions. Sand breaks in one Pickaxe hit. |
||||
|
|
Rare | 1,500 m | -24 °C | 600 XP First discovery |
|
An icy biome with easily dug snow, soft landing surfaces, and severe cold.
TipsPrepare warmth for approximately -24°C conditions. The cold water does not warm you. |
||||
|
|
Uncommon | 1,800 m | 21 °C | 300 XP First discovery |
|
A biome nearly flooded to the ceiling with warm water and glowing blue flowers. Crossing it requires moving between air pockets.
TipsMove between air pockets and find an upward exit before your air runs out. Use the Flooded Caves crossing guide for ledge and grab controls. |
||||
|
|
— | — | — | — |
|
A biome with glowing rocks and crystals, including pink crystals.
|
||||
|
|
Deep Only | 2,100 m | 30 °C | 400 XP First discovery |
|
A deep biome of black rock, lava, and scorching ground.
TipsBring drinking water before entering and keep moving across the scorching ground. Lava replaces the local water supply. |
||||
|
|
Deep Only | 2,100 m | 16 °C | 400 XP First discovery |
|
A deep biome with green rock, poisonous green water, green gas, and luminous growths.
TipsBring safe drinking water. Green water burns and causes illness, and running in green gas doubles stamina consumption. |
||||
|
|
— | — | — | — |
|
The named first layer of the descent.
|
||||
|
|
— | — | — | — |
|
The named second layer of the descent.
|
||||
|
|
— | — | — | — |
|
The named third layer of the descent.
|
||||
|
|
— | — | — | — |
|
The named fourth layer of the descent.
|
||||
|
|
— | — | — | — |
|
A region with twice the Hushmaw population found elsewhere.
|
||||
|
|
— | — | — | — |
|
A biome whose arrival unlocks the LIMBO? badge.
|
||||
Terrain, Water and Encounter Choices
Choose your footing and digging route
The Stone has slow-to-dig hard rock and no soft landing surface. Use a Pickaxe rather than your fists. Aim at breakable terrain and hold the left mouse button until it breaks; check above the opening, because destroying supporting rock releases objects resting on it.
The Dunes offers sand that breaks in one Pickaxe hit and cushions falls. The Frost has easily dug snow and the softest landing surface in the caves, but its approximately −24°C cold makes warmth a priority. Sand and snow offer easier digging than hard rock, while each region’s environmental hazards still affect the route.
Choose water for its actual use
- The Stone: Clean, cold pools supply drinking water, bottle refills and washing.
- The Overgrowth: Warm lakes drive off cold, slow infection and support wound care. Grass and leaves cushion falls, but large leaves obstruct your view and Maneaters grow in the grass. Check your landing area before committing to the vegetation.
- The Geysers: Warm springs support soaking and wound care. Boiling pools burn you, and ground steam vents throw you upward. Leave a pool immediately when the boiling warning appears and keep clear of vent outlets.
- The Flooded Caves: Warm, drinkable water cushions falls, and glowing blue flowers light the route. Water nearly reaches the ceiling, so the next breathing space matters more than the comfortable temperature.
- The Frost: Cold water does not provide warmth.
Prepare for dry and toxic regions
Carry drinking water into The Dunes, where heat and dryness bring thirst and overheating. Sandy wind and cacti also obstruct movement.
Bring water before entering The Magma Depths. Lava lights the route but replaces the local water supply. Its approximately 30°C environment causes rapid overheating, while lava and molten rock burn your feet. Keep moving across scorching ground and avoid direct contact with lava.
The Toxic Depths is cooler, at approximately 16°C, but its green water burns you and causes illness. It has no safe drinking water. Avoid the green gas; running inside it consumes twice as much stamina.
Recognize The Crystal Seams
Pink crystals, glowing rocks and blue plant-like growths mark The Crystal Seams. Its area warning says something underground favors light. Treat the glow as an environmental landmark, rather than a sign that the passage is safe.
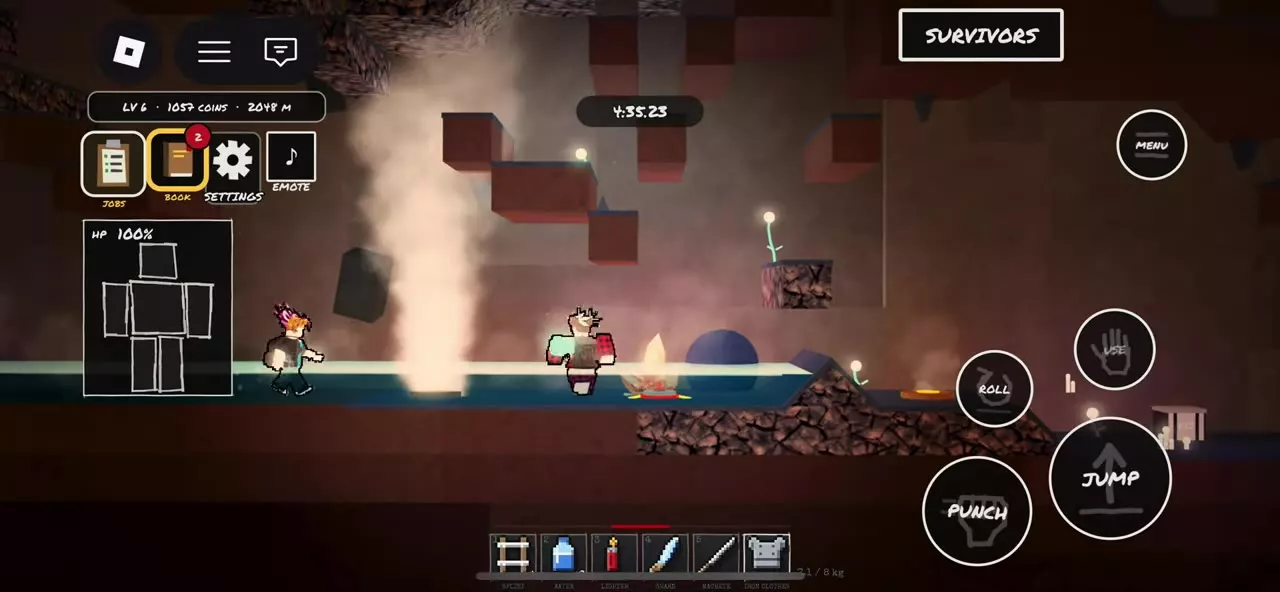
Spikes, Thorns and Falling Objects
Spikes and embedded fragments
Spikes injure feet and bare knuckles, cause bleeding and leave embedded fragments. Keep clear of them and use a Pickaxe instead of punching the obstacle.
After an embedded-fragment warning:
- Open BODY, or select SHANKED or SHARDS to reach the injury interface.
- Inspect the affected limb.
- In the fragment-removal interaction, grip the fragment, rotate it and pull it slowly outward. Avoid pushing it back into the wound.
Poisonous thorns
The Overgrowth’s thorns break off in the skin and cause spreading burning pain and retching. Contact also causes bleeding and pain. Watch the ground and foliage as you move; large leaves obstruct the view of the path. The burning and retching are thorn effects, separate from the ordinary embedded-fragment interaction.
Tremors, impacts and red light
When the ground trembles, move away from the immediate falling-object area. A nearby heavy crash followed by red light serves as a location clue for a landed Supply Drop. After the impact, look toward the light to locate the box. Red light alone does not identify every hazard or falling object.


Deep Discovery Clues
The Discovery Book’s Biomes tab contains 13 entries. Undiscovered entries display question marks alongside exploration clues. Use the depth and environmental clue attached to each entry when choosing where to explore.
| Rarity | Approximate depth | Clue | Discovery XP |
|---|---|---|---|
| Deep Only | From 2,100 m | About 1 in 6 caves initially | — |
| Deep Only | From 2,100 m | Follow the green glow | 400 XP |
| Deep Only | From 3,500 m | Near toxic patches | 400 XP |
| Deep Only | From 5,000 m | Depth clue | 400 XP |
| Very Rare | Deeper than 7,000 m | Black water | 900 XP |
| Very Rare | Deeper than 6,666 m | Lower morality | 900 XP |
The frequency clue beginning around 2,100 m becomes more common farther down. The entry near toxic patches is common in the depths. For the Very Rare morality clue, lower morality increases the chance of an encounter after the depth requirement.
Follow each question-mark entry’s own conditions. A shared depth or environmental cue does not establish that two clues refer to the same biome.
Water Crossings, Temperature and Exploration
- Water crossings: Watch AIR, move between breathing spaces and find an upward exit before your air runs out. Use the Flooded Caves crossing guide for ledge controls and escaping underwater grabs.
- Temperature: Prepare warmth for The Frost and drinking supplies for hot regions. The temperature guide covers cold, wetness, warming actions and leaving boiling pools.
- Navigation: The map displays terrain you have already seen. Use map symbols and navigation to identify routes and facilities.
- Discovery rewards: First discoveries award the XP listed in their entries. Follow the XP and discovery rewards guide to claim rewards in the Discovery Book.
The Abyss has twice the Hushmaw population found in other areas. Reaching Limbo unlocks the LIMBO? badge; see the badge and collectible directory for collectible unlocks.
Articles and guides
2How to Cross the Flooded Caves in Cave Casualties
Cross the Flooded Caves in Cave Casualties by watching AIR, finding breathing spaces, escaping grabs and climbing out of the water.
Cave Casualties Temperature: Cold, Wetness and Heat
Stay warm with clothing, fire, a Lighter and heated rations in Cave Casualties. Use warm pools, prepare for hot regions and escape boiling water.